Once you have your mask, you want to keep it in good condition, right? Thankfully it's probably easier than you think.
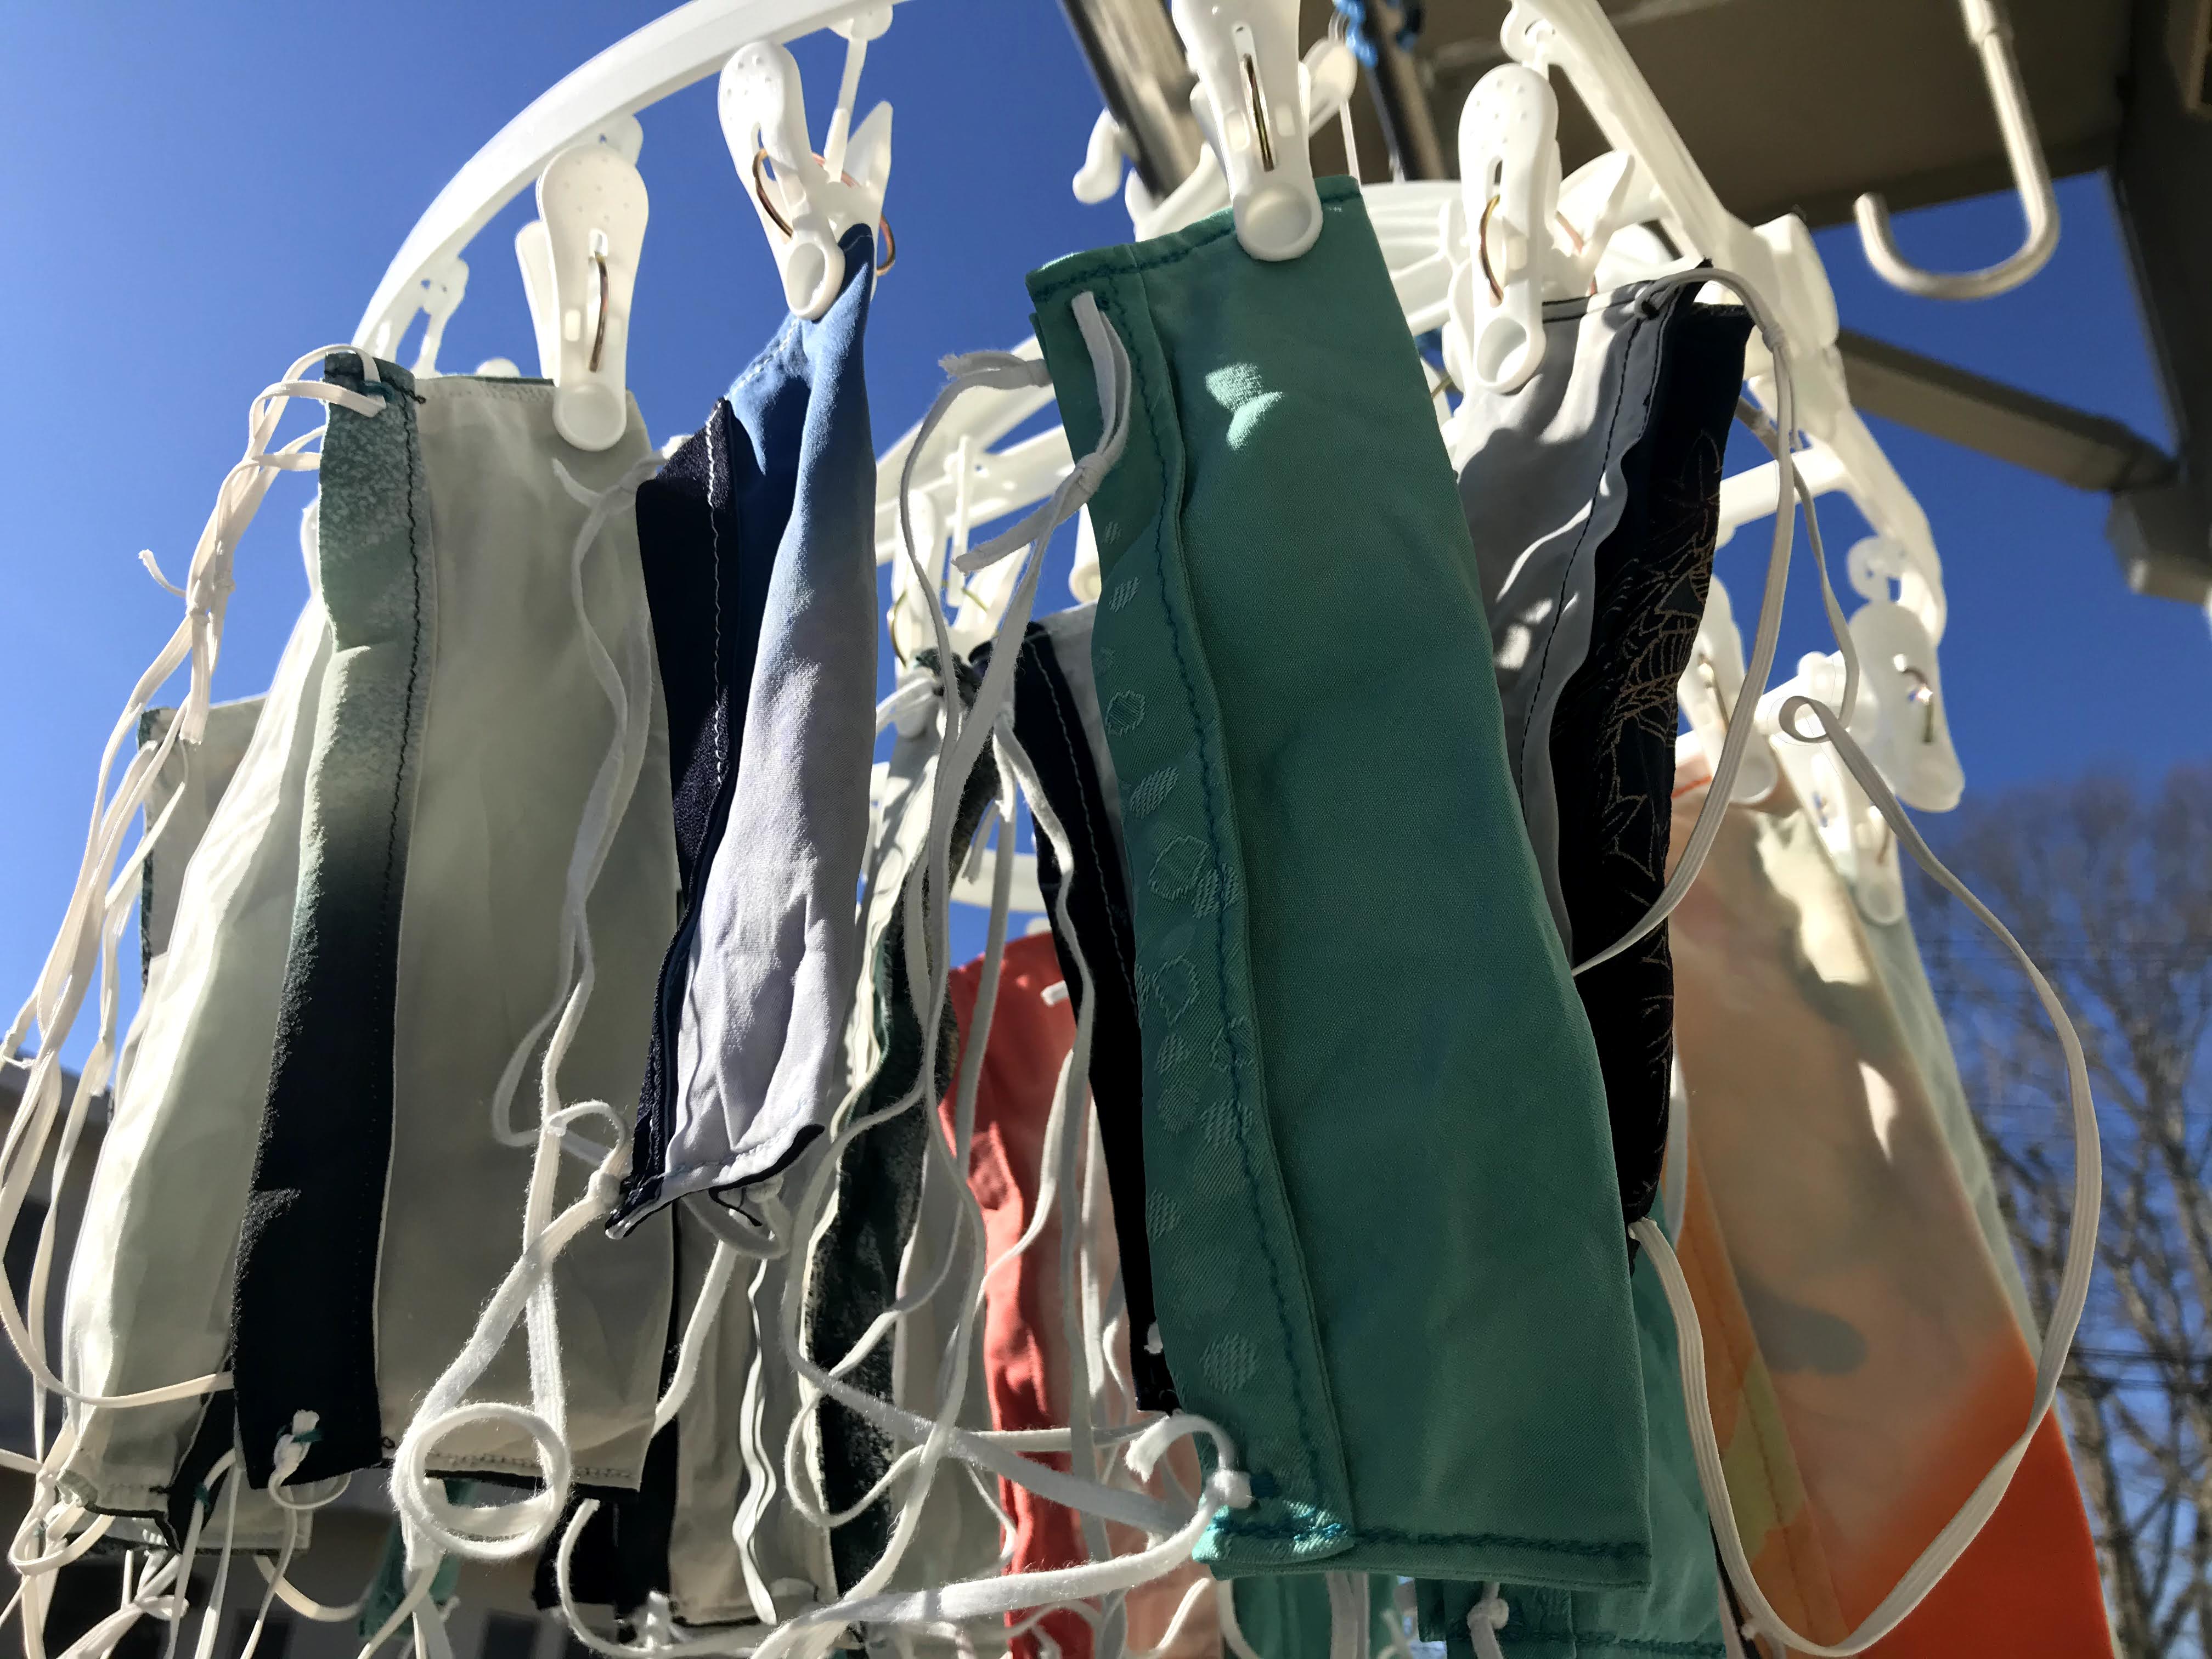
Silk face masks drying in the sun
Basic care instructions
If you're feeling fancy
Turn outer layer to the inside (rectangle shape). Hand wash it with mild soap. Fabric softener is okay. Gently squeeze, but do not twist, to remove excess water. Gently pull to reshape, and hang to dry.
Easy, normal care
Turn outside layer to the inside (rectangle shape). Place in net bag and machine wash with like colors, normal cycle and normal soap. NO BLEACH. NO OXICLEAN. Liquid fabric softener is fine.
"Ain't nobody got time for that!"
(I do not recommend this method, but I understand the sentiment)
Toss your mask in with the rest of your clothes. Normal soap, normal cycle. Dry in the dryer on low heat. Your mask will ball up and you will need to spend time ironing it. Even after treating the mask with color stop, some color may transfer on to your other clothes.
Avoid at all costs
Absolutely never apply bleach (dissolves fabric), OxiClean (dissolves fabric) or alcohol (color bleeds) to your silk mask.
Silk can be durable
Follow the recommended care guidelines to keep your mask looking and feeling good for a long time to come. I'll update this blog post when mine finally need to be replaced, to give you a ballpark for how long they last.
...and how I fixed it. And now I desperately want to share my ideas with you so you can feel better in your masks! We'll cover the benefits, drawbacks, and how-to's here, and the next post will show you how to care for your mask so it lasts and lasts.
I think my pattern here is one of the best on the interwebs. I tried other patterns, but I wasn't satisfied. I worked really hard to develop and refine this pattern. It's been field-tested by myself, family and friends, and I've made over 100 masks with this design. It fits well, feels great, and looks wonderful. I'm very confident that you'll love it.
Problems and solutions
Behind-the-ear elastic hurts
⇒ on my pattern the elastic goes behind the head
Masks slip up or down, so you have to touch them to fix it
⇒ cutting fabric on the bias fixes this problem
Curved masks fit better, but are harder to sew, and finding the perfect fit is hard
⇒ my pattern doesn't use curves, but it still fits!
Masks have big gaps at the eyes
⇒ my pattern takes care of that with one fold, no special metal strips needed
Masks are itchy
⇒ silk fibers don't fray and tickle like cotton does
Masks get wet from my breath
⇒ silk dries faster than cotton
I want to use a filter
⇒ this pattern accepts a filter
The elastic is always too long or too short
⇒ I show you how to use a slip knot and make your elastic straps adjustable
Behind-the-head elastics seem dangerous
⇒ I also have a breakaway safety knot option!
Okay...so what's wrong with it?
Sounds too good to be true, right? There are some drawbacks:
bias cut uses a lot more fabric
elastic behind the head requires, well, longer elastic
it's harder to put on than an over-the-ear mask
people who wear their hair over their ears might find the mask elastic slips down. There is a fix though: part the hair where the elastic should go, lift the hair up and out of the way, put the mask on and let the hair back down.
even with starch and a walking foot, the fabric can still be difficult to sew
it will ball up if you put it in the dryer
silk means you have to keep it away from bleach and alcohol
If you're thinking, "I think I can deal with that," read on and I'll help you make a mask you love!
Tutorial time!
First I'll give an overview to help you understand what's involved. After that will be the supply list, and finally the thorough instructions, pictures, and video tutorial. So, let's get to it!
Silk face mask made from antique lavender silk using this pattern
Silk face mask, side view
Taking measurements
(For the "I don't want to measure; just give me the pattern already" people, I hear you. Skip to the end of this section to get common measurements you can use.)
Width (1): If you already have a mask size you like, go ahead and use it for the width. Otherwise, measure from one side of your face to the other, passing over the tip of your nose. Add 2 cm for seam allowance.
Mask measurement guidelines
Height (2): Open your mouth slightly (say the "o" of "opera," for example). Measure from the bridge of your nose (or draw an imaginary line connecting the lowest part of your eyes, and measure from where it crosses your nose) to just under your chin. Add 2 cm for seam allowance.
Top elastic: measure from the side of your face, behind and high on your head, to the other side of your face. Add 12 cm to this measurement to give enough length for the knots.
Bottom elastic: measure from your jaw around and low behind your head to the other side of your jaw. Add 12 cm to this measurement to give enough length for the knots.
Common sizes (seam allowance is included)
Adults and older teens: (same for men or women) 22 cm x 18 cm, upper elastic 52 cm, lower elastic 37 cm
Child age 11-15: 21.5 cm x 15.5 cm, upper elastic 44 cm, lower elastic 35 cm
Child age 7-10: 17.5 cm x 15 cm, upper elastic 44 cm, lower elastic 35 cm
Child age 3-6 (see safety knot instructions, below): 15.5 cm x 12.5 cm, upper elastic 44 cm, lower elastic 35 cm
Overview
I'll give detailed instructions and videos after this overview. Read all the way through this whole post and watch the videos before you start. This part should help you get your bearings.
Total sewing time: about 1 hour if using a sewing machine
Total project time: 6 hours to 1 day, to account for drying time after starching and after washing
For the mask body: Starch your fabric and let it dry. Cut the inner and outer fabric out on the bias. Each mask will have two layers. Turn up the bottom of both layers by 1 cm and press and sew to the back side. Lay right sides together and sew layers together on 3 sides, leaving the bottom unsewn. Press seam allowance in, then turn work right-side out. Press and topstitch all the way around, except for the filter opening. Turn the top down to the inside by 2 cm and sew the sides down. Now fold the mask in half so that only the inner side is visible. Stitch the sides halfway down, starting from the middle fold (you'll see in the pictures and video below). This finishes the mask body.
Wash and treat fabric: At this point I like to wash my mask to get the starch out, and then soak it in vinegar to kill any lingering odors. I do it before the elastic is attached because vinegar can be too harsh on elastic.
Attach the elastic: Once the mask is dry, grab one of the upper corners of the mask (the part you flipped down 2 cm earlier) and lay it down so that the inner layer is facing up. Use a wide zig-zag stitch to sew a channel over one of the elastics. Tie a surgeon's knot. Zig-zag the other end of the elastic to the other upper corner (short end pointing in toward the mask), and tie a slipknot. Repeat surgeon's knot and slip knot for the lower elastic. Now tuck in your thread tails, and you're done!
Essential supplies
Sewing machine capable of a straight and zig-zag stitch: you probably could do this by hand, but silk has a way of gripping the thread and making sewing go very slowly.
Silk fabric: you can use the same fabric for the inner layer and outer layer, or use two different fabrics
Paperboard / cardboard / etc. to make a template
Fabric marking pens
Thread that matches your outside fabric
Elastic: I prefer flat 4 coil that's really stretchy instead of stiff
Highly recommended supplies
Starch (I made my own: 2 tablespoons starch cooked with 250 ml water, then cooled with another 250 ml of water. I poured it into a spray bottle and shook it really well.)
Walking foot. I hate to say it, but if you're using a sewing machine it makes your life a lot easier. It's come in handy for other projects, too, so I consider it a good investment.
Color stop, or some product that will stop color from bleeding. Every kimono I used needed this product. I was able to soak dark and light colors together in the solution without any ill effects, but use your judgement here.
Instructions
Template for child age 11-15
Prep steps
Starch your fabric and let dry completely. Cut your elastic straps and treat the ends with fray check, and let this dry completely, too. Take your paperboard and make a template using the measurements you took earlier. Make sure to include seam allowance. I like to mark my template with the fabric grain, measurements, and top and bottom elastic measurements. Mark a 7 cm opening along the bottom of the template.
Mask body
Mark and cut out fabric: Place your template on your outer layer fabric, turned 45° so that the edges now run along the fabric bias. Mark your fabric for as many masks as you want to make, planning carefully around any patterns, stains, or designs. Repeat for the inner layer fabric and cut everything out. (Video mark 1:28)
Press bottom edge up 1 cm: Lay your cut pieces with the wrong side facing you. Turn the bottom edge up 1 cm and press. Repeat for all pieces. (Video mark 3:45)
Sew bottom edge: Set your machine for a narrow zig-zag stitch. This lets your stitches stretch just a little bit. If you don't do this, you're likely to pop stitches when wearing or washing the mask. Sew close to the upturned edge. This stitching will be visible on the finished mask. (Video mark 3:53)
Sew both layers together on 3 sides: Lay your inner and outer layer together, right sides facing. Move the inner layer up just a little bit (1-2 mm). Using a narrow zig-zag stitch and a short stitch length, begin sewing from the bottom and up one short side. Stitch for about 4 stitches. Change to a regular stitch length but keep the zig-zag. Continue up the rest of the short side, along the top, and down the other side, finishing with a short stitch length. I do the short stitches instead of backstitching because it avoids sewing through thread and it's easier to keep my stitches tidy. (Video mark 4:04)
Trim the seam allowance at the corners (Video mark 5:14)
Press seam allowance in toward outer layer: this will make pressing easier when you turn the piece right-side out. (Video mark 5:35)
Turn work right-side out and press. (Video mark 6:07)
Fold seam allowance corners out of the way, then topstitch: Using a narrow zig-zag stitch and a short stitch length, begin topstitching from the filter opening. Change to a normal stitch length and continue topstitching all around the edge until you reach the opposite side of the filter opening. Finish with a short stitch length. (Video mark 6:55)
Fold the top edge down 2 cm toward the inner fabric. Beginning at the folded edge, sew 2.5 or 3 cm down the side, turn your work, and sew back along the same line. Repeat for the opposite side. (Video mark 7:52)
Fold the mask in half at the sides with the inner layer visible. Beginning at the new folded edge, sew halfway down the side edge, turn your work, and sew back along the same line. Repeat for the opposite side. (Video mark 10:30)
Wash your mask in warm water and mild soap. If you notice color bleed, rinse the mask and soak it in a color stop solution according to the manufacturer's directions. Rinse again, then soak in distilled white vinegar for 30 seconds or so. Rinse one final time, then hang to dry. Let the mask dry completely before continuing.
How to attach the elastic: adjustable slip knot method
Pay special attention to the instructions, and follow the video exactly. If you tie the knots in the wrong order or from the wrong side, it's more likely that your elastic will come undone. I've tested different methods, and this one works.
Upper elastic, first knot is a surgeon's knot: grab an upper corner of the mask and hang the elastic a little bit over the side edge. The elastic should be about 1 cm down and 1 cm in from the corner. Change your stitch to your widest zig-zag with the shortest stitch length. Sew a channel over the elastic for about half a centimeter. Tie off your threads and hide them. With the short end of the elastic still hanging over the mask's edge, tie a surgeon's knot.
Upper elastic, second knot is the slip knot: Use the same zig-zag technique to hold the other end of the elastic, pointing in toward the mask, to the upper opposite corner. Tie a slipknot.
To secure the lower elastic straps, follow the same procedure in the previous steps with one small change: have the elastic pointing diagonally to the corner.
Hide your thread tails, and pat yourself on the back for a job well done!
To put the mask on, turn the mask right side out but with the points still in. The mask will look a little bit like a boat. Grab the elastic straps in both hands, look up, and put your chin in the mask like it's a sling. Pull the elastic straps up and over the head, letting go of the bottom elastic and putting the upper elastic at the top back of your head. Shift the mask up on your face. Pull up at the nose and down at the chin with a little stretch. Make sure you can see your topstitching at the top of your nose. Adjust the length of the elastics so that the mask feels light on your face. The bottom elastic should be loose, but tighten when you look up.
So, how did it go? Were there any steps you struggled with? Did I make a mistake? Did you find the project easy or hard?
If you're looking for a pretty good introduction about sourcing your own silk fabric and making your own masks, you're in a good spot. In this post I'll go into how I became interested in this project, what I learned, and what tools I used that made this project easier. The next post will focus on the pattern and video tutorials, and the final will walk through how to care for the masks.
From this...
...to this!
Why silk?
Antimicrobial properties
This all started when I heard about a company here in Japan that was recycling kimono into face masks (check out their beautiful products in this link). I was skeptical about using silk, so I started doing some research. I was so surprised to learn that silk might be even more effective than cotton, because silk contains copper, and copper has been used for thousands of years as an antimicrobial agent. Who knew?
(Want to know more? Click here for an article about a small study that pitted silk against other materials for face masks, and follow this link to read an abstract about the various ways copper was used through the ages.)
Cheap and abundant
Silk? Cheap?? Yes!!
Okay, well, now that I knew it was a good option, where would I get the material so I could try it? I spent weeks trying to source silk from various places online, but nothing was as easy or as cheap as I wanted it to be. Then I remembered all the used kimono I saw at our local recycle shop! I headed over right away, and was thrilled by the seemingly endless selection of beautiful fabric and colors.
Imagine my shock when I looked at the price tags and saw how cheap it was! And by a stroke of luck, kimono were half-price the day I went. I didn't spend more than $5 on any one kimono, and most of them were only $1.50! Can you believe it? We've all dropped more change in a vending machine, and here I was walking out with a heavy armload of kimono! Even better, this project would give new life to this beautiful fabric and let it be used on a daily basis. Instead of staying stuck in a dark drawer until it's brought out for a special event. Or hanging sadly among hundreds of others, unwanted. (I'm not going to talk about how many get tossed in the garbage, because it pains me too much.)
Now, I understand that not everybody has access to recycle shops full of kimono. Have hope! Check out your local thrift store, especially scarves or the men's shirt section. Read on for tips that might help you identify silk based on feel, in case there isn't a label.
But is it pure silk?
Yes. But, not everything I bought was silk. I bought 10 kimono, and 6 turned out to be 100% silk, while the other 4 were polyester. How do I know?
Burn test
Fabric manufacturers are amazing at copying the properties of silk, so the only way to be 100% sure of the fabric content is to do a burn test. If you haven't heard of it before and you want to know more about it, I encourage you to track down some YouTube videos. Threads Magazine also had a very good walk-through video, and made a handy chart (find it here). After a few tests of my own, I was confident that I could identify silk accurately. It smells bad when it's burned (like poop), it self-extinguishes, and the ash left behind makes a very satisfying crunchy sound when you crush it. If you decide to try your own burn test, 1) follow the safety instructions in the linked video just above, and 2) warn your housemates, 'cause it's stinky.
Burn test results: 4 kimono were polyester, 6 were silk
Tips for finding real silk in the store
I can't give you any guarantees, but look for these signs and you'll improve your odds of finding pure silk:
Biggest indicator: special fabric treatment. Look for pleating, hand painted details, shibori, embroidery, or things of that nature.
Does the kimono lining have an ombre dye to it? High-end kimono often will, and the lining is usually silk. If the lining is silk, chances are good that your main fabric is, too.
Pure silk kimono lining. Note the orange and the pink ombre.
Is the lining different between the upper body and the lower body? If it is, feel the lower portion with your fingers. Does it seem a little tacky, like your fingers pass more slowly along the fabric than you would expect? Silk feels that way.
Is the lining bright white? Silk will have a cream cast to it, not bright white.
Does the main fabric seem pleated or shaped in some way? It's likely silk, but silk with lots of ripples shaped into the fabric can be heavier and more difficult to work with.
Silk fabric with pattern created by tiny ridges
Does the main fabric seem to have a pattern woven into it, not with color but with the fabric itself? The relief side of the fabric, if you can see it, will have the opposite pattern. This is often done with silk, but sometimes done with polyester fabric, also.
Pure silk fabric with a woven pattern of miniature maple leaves
Any other important info?
Odor, and how to get rid of it
Yes, let's talk about odor. Kimono may come home with quite a strong smell, including but not limited to mildew, mothballs, and/or cigarette smoke. The mothballs were the worst for me. I tried washing the kimono in my washing machine, but that magnified the smell by 100 and made my washing machine stink for a week, so don't do that. I also tried alcohol, vinegar, baking soda, sunlight, and a vacuum bag that was liberally sprinkled with baking soda and contained a charcoal odor-absorbing packet.
What worked?
Sunlight and straight vinegar were the most effective, and the quickest. The baking soda and charcoal combination worked, too, but the smell seemed to come back when the fabric got wet. That happened with the sunlight-treated kimono, too, but it almost completely went away after I soaked it in vinegar.
I finally settled on my favorite process: air the kimono outside for days (turned inside out to protect the main fabric from the sun), then rip the seams and cut and starch and sew everything, then wash it well and rinse it in vinegar, and finally let it air dry one more time.
What not to do
Alcohol of any type is not recommended, because it will cause the dye to run. Don't use OxiClean or bleach, either, because both of those products will dissolve the fabric. Also, don't wash your kimono without airing it outside for at least 2 days (3 or more is even better).
Sewing tips
Starch is your friend
This is the project that got me to use starch for the first time. Silk is -- and this is an understatement -- difficult to work with. I cooked my own heavy starch mixture (easy recipe in the mask tutorial segment) and used it extensively.
A walking foot is also your friend
This is the project that got me to use a walking foot for the first time. One layer of silk is difficult enough to control. Add a second layer and things somehow become exponentially worse. The combination of a walking foot and heavy starch, though, made it all very easy.
But is it worth it?
Yes, absolutely. Look, it is a pain to deal with the smell, and it can be frustrating to sew, but there are ways around that. And the reward is gorgeous fabric that helps protect you, and, best of all, it feels amazing. No matter what cotton I tried, it always had little fibers that tickled my face and made me want to scratch and rub it all the time. Cotton also trapped a lot of water and felt wet against my face. Silk feels absolutely smooth against my skin, and it dries much faster than cotton. Now that I've tried silk, I'm never going back to cotton.
If I've convinced you to give it a try, I hope you enjoy the results as much as I do. So, head over to the next post, and let's get you started!